Sunday, June 23, 2013

30 Day Sewing Challenged Day 19 & 20 of 30

Day 19 & 20

DIY OBI Belt / Pattern Review KINDA!
Top Mcalls M5512 This must be out of print I purchased it in 2008 or 2009
Skirt McCalls M6462

I seen a dress on line that I fell in love with it, and figured I would make it before the season changed. A day later I wondered into the fabric store and found the perfect fabric. So I searched my patterns and found one that had a circle skirt and another that had the top that I thought may work for the look I was going for. I didn't know how it would turn out so I decided not to cut on my new fabric, I chose this blue fabric that I picked up months ago from Wal-Mart for $1. Now when I got this fabric I was sure that I would make a jumper but when I got it home I thought that it looked cheap (maybe because it was). I made the collar out of this fabric I got for free from my friend and use the instructions from Joyfull Ruffle Neck blog to complete it. I wanted to be able to tie the collar in with the dress so I also cut out MIMI G OBI BELT . I took my time and spent all afternoon on the dress. I wanted to make sure that I didn't mess up because I wanted to rock this to church on Sunday.

I didn't read any of the direction for fear that it would confuse me because it was too different patterns, however I did read them after I was done and I didn't do my dress any different from what the instructions from both patterns asked for.

Sewing

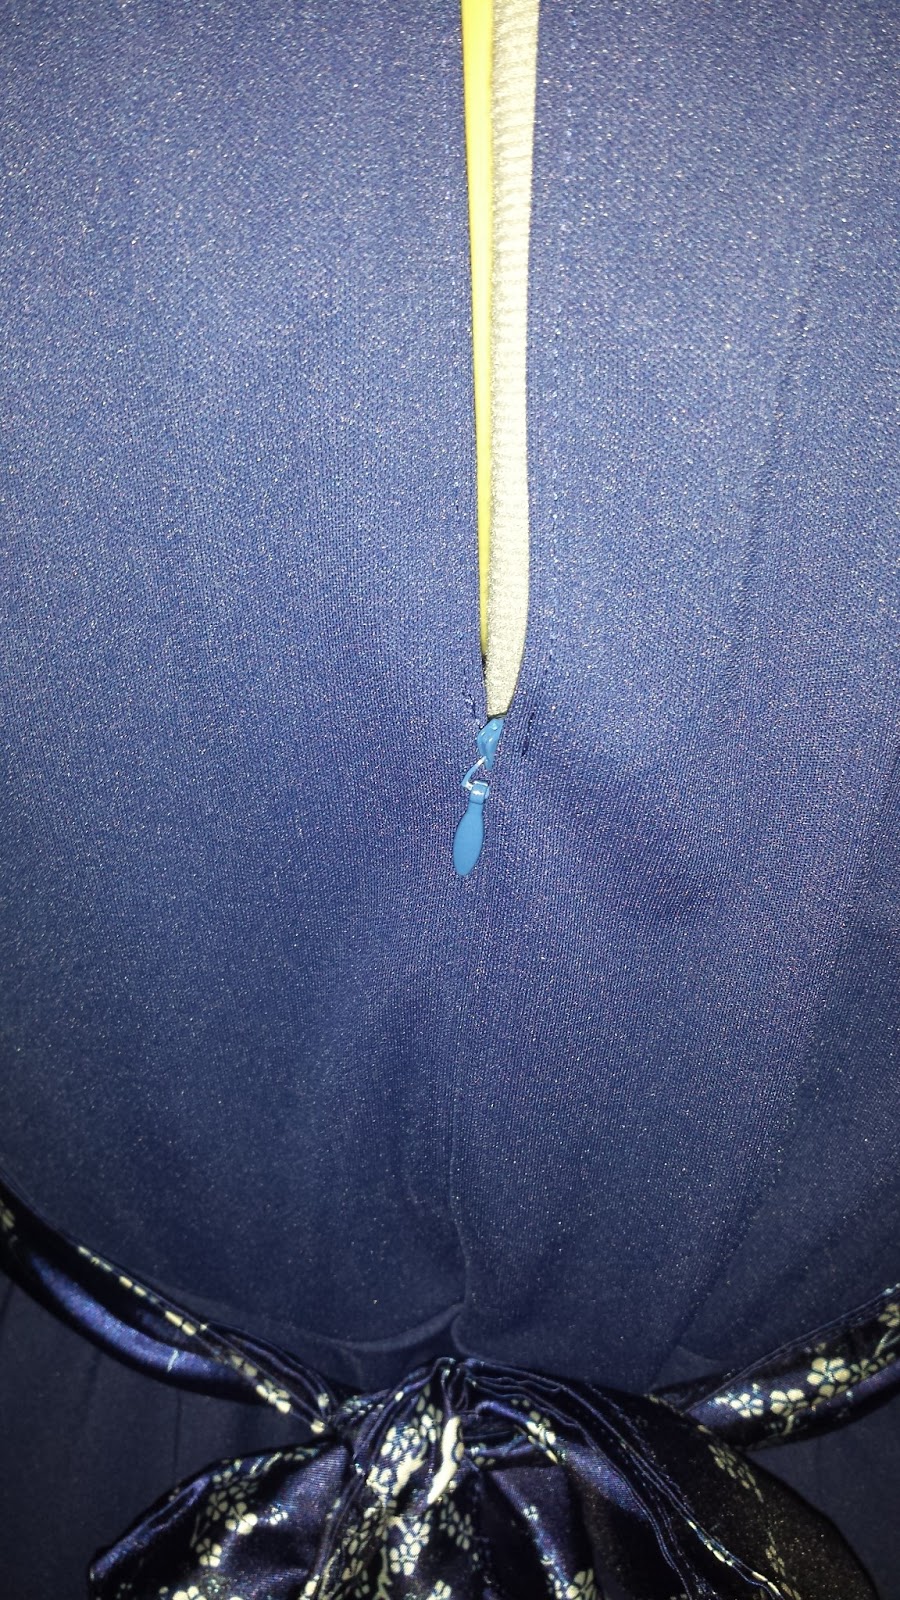
I first sewed the skirt pockets to each side of the dress and then stiches the back bodice to the front bodice. Hemmed the arm holes and then attached the bodice to the skirt. I added the invisible zipper using the way I learned in MIMI G Tutorial however this video should help. I started on the collar, I did it the same way that the blog instructed the only difference is I added two buttons to the collar. By this time it was very late and I was really tired so I did one final press and went to bed.

Day 20

After work I took a look at my dress and notice that my sleepy self stitched my buttons on the WRONG SIDE.... SMH

OBI Belt

Tutorial

I decided to add interfacing and to make it double sided because it is so thin. I sewed it up right sides together turned it right side out and top stitched it using a twin needle. My threads keeps breaking so Im going to bed. Think this machine is over worked. I wanted to sew up a few other items today but don't want to bother with the treads right now.


Tomorrow goal: Studding a top


30 Day Sewing Challenge Day 18 of 30

 
Day 18

DIY / Pattern Review

O my, I'm in love with my goof up....


I laid the fabric out and placed  the cut out pattern pieces on the fabric and realized that the fabric needed to be folded the other way because of the chevron print was going the wrong direction. I told myself I would change the direction after work before cutting it out, and went to bed.

The next day I came home and went straight to cutting. Totally forgot to changed the direction, completely sewed it up and when I turned it right sides out to try it on for a fitting I then noticed that the print was the wrong way *slapping forehead* It was nothing that I could do at that time didn't have enough material to redo. Many thoughts ran though my head, should I give it away to a friend, place it in the Cots (woman's shelter) Bag or trash it. I never considered not posting it because after all it would count towards the challenge. I love the fit and really wanted something to wear with the 50 cent pants I thrifted a few weeks ago, so I did one final press and decided I would wear it anyway.

Got out the car at work and one of the interns (that also sews all of her cloths) praised me on how beautiful my top was and she really loved the print. I mentioned that it was a goof up and she looked surprised and said she didn't notice. I received compliment after compliment all day long and the more compliments I got the more I fell in love with it. I sent a picture to the lady who thought me a lot about sewing and her reply was that it was lovely and very slimming. My boyfriend laughed at me when I told him that it was an accident and informed me that I am to much of a perfectionist and it looked nice. I cant wait for a few weeks to pass so I can slip this puppy back on.


Burda 7866

Fabric Used: A red and white chevron print from Joanns Fabric Red Tag Table $5 a yard I got 2 Yards

Pattern Sizing: I cut on the 18

 Did it look like the photo/drawing on the pattern envelope once you were done?  Yes other than leaving off the belt

Were the instructions easy to follow? I did read the instructions but didn't follow then.

What did you particularly like or dislike about the pattern? I liked how easy it was

Pattern alterations or any design changes you made: None

Would you sew it again? Yes Yes Yes!!!

Tomorrows Goal: Not sure

Monday, June 17, 2013

30 Day Sewing Challenge Day 16 & 17 of 30

Day 16

I completed the t-shirt maxi dress from the night before. I took in another 2" or so in the center back seam added the binding around the collar and then I started thinking that I wanted to try using my double needle but it wasn't in the spot it should have been so I just completed it by tucking it under twice and making a straight stich across. Turns out I like the dress and no longer think its night gown looking. Like I said before its comfy and something that I can wear all day without a problem.

After I finished the dress my 5 year old an I headed out to the petting farm for our cousin birthday party. I stayed there a little longer than I wanted. After leaving we went to the grocery store and I notice that my son wasn't breathing good. I gave him a few puffs from his inhaler and a few hours later a breathing treatment.

Before bed I cut out pattern  V7997  and added a few inches because I wanted to make it a dress. I was a little confused about the pattern placement but did it my way and went on to bed.
V7997

Day 17

DIY V7997 VOGUE

I woke up today to my son complaining about his breathing so I called into work made him a same day appointment and  took him in. He received another breathing treatment, liquid steroids, a change in his script and we headed home. After we woke up from our nap I started on the V7997. Instead of making it as a shirt I added a 17 inches to the waist line and made it a dress. The directions are easy to follow. However AGAIN this dress is too big. I'm not sure as to what I'm doing wrong, I measures for my bust and hips and the pattern says cut on the 18. Well I took in a 1/2 and inch on both sides and still don't think it fits properly. I had to take in a half and inch on the sleeves and yes I do think that this needs to be a little more snug.  This is not my style and is something that I haven't worn in the past, however I plan on wearing it to one of my two friends birthday party that will take place at the club or a bar. I think that the pattern on the material is beautiful however I wish I would have chose the direction of the prints a little better. I guess you live and you learn. I'm going to rock this dress anyway.


I would really like for the front and back pattern to match up. I'm going to have to work on that with the next print pattern I cut out


I have now decided with my son being sick and life getting in the way I will post every day however not add the pics until Sunday night unless I can get someone other than my 5 year old to snap a photo. I just cant fit in work, sewing, amateur  photo shoot, and blogging. This is a lot of work and I respect others that post every day. I was going to have my 13 year old snap some pics today but he was outside and when he came in the sun was going down and the pics was very dark.

Tomorrow Goal: I have the fabric I want to use, its a red and white knit print I purchased from Joanns from the red tag table a few months back. I'm a little undecided on what pattern I will use. I'm thinking of using

Burda 7866

Burda 7866

 or V1291

 
V1291

Saturday, June 15, 2013

30 Day Sewing Challenge Day 15 of 30

DIY T Shirt Maxi MIMI G Style

Today is day 15 and my challenge is half way over. Even though I didn't sew every day I feel like I have truly accomplished a lot. I went from being unsure of finishing an outfit to completing some amazing pieces in a day. I have learned that I have to set goals and stick to them. Its no longer a must that I cut out weeks before the project starts (it does help) I have successfully cut out and sewed a complete outfit in 4 hours. I can truly do whatever goals I set as long as I stay focus. I want to be able to sit at my machine and create magic for myself to enjoy. Anyone who knows me know that I don't worry about if what I do is accepted by others so you know I don't mind rocking a unique item. On days that I look in the mirror and question my outfit is the days that I get more compliments than this big ole head of mines can take. Ok so enough of how happy I am that I joined this challenge......


A few months ago I purchased MIMI G T Shirt Maxi Tutorial in a bundle. I got 3 different styles in that bundle. After I got over my fear I taped together some paper and followed her direction on how to create my own pattern for this style. When I was done I cut out my fabric and stored it in a plastic Ziploc.

I sewed it all up and tried it on and I started laughing so hard I almost fell over. See my grandma had a ton of theses gowns she called momo (spell check) and this is what I looked like I had on. The gowns she had was a shiny material full of flowers and big all over. I still have one of hers and my boyfriend says two people can fit in that. Any way when I made the pattern and cut out the maxi I was 50 lbs heavier and I totally forgot this. I also did this with a skirt I made on this challenged and Its too big in the waist also. Silly Me!!! I had to take in 3" on both sides and still feel like I should take in a little bit more. I got frustrated with it and decided Ill try it on again tomorrow and see what becomes of it. If nothing else I can sleep in it lol. I really like to comfy material its a jersey knit and I can see myself running to the grocery store, post office or even spending a day at the park in it.

The below pics are after I took it in.


Tomorrow's Goals: I did want to make a short bodycon dress with long sleeves, however I may make a mermaid dress.

Friday, June 14, 2013

30 Days Sewing Challenge Day 11 - 14

DYI MIMI G Regal Maxi (No Sash)

So people I feel like a fool, for the last few days I have been trying to post and my blog wouldn't load any of my post. I got a new laptop and it has windows 8 and I'm still trying to get acquainted with it. I still don't know what I'm doing, so all week I have been using an app to get to my blog and this is a NO NO. Well today I figured that out. I felt like I was letting myself down because I wasn't able to document my journey, I Know Silly ME......

Well this week I have been very busy with life because my son school called and stated that he was too sick to stay in school, my baby graduated from Pre K, friend came in from out of town, and because I was rushing to get my son to his Kindergarten orientation I foolishly locked my keys in my car with the car running. Needless to say I have been emotionally drained all week. So now it's Friday and I'm back on my sewing game.

On Day 11 my son got sick at school and I had to go pick him up an hour after I dropped him off. I made him an appointment for 7 pm that evening and took this time to get my sewing completed. I cut out my fabric and started sewing up the below skirt. I completed this using  MIMI G tutorial the same as I did with the Day 9 outfit. The only thing I did differently was cut it knee length and didn't add the sash. However I think I will make one, I have a little bit of fabric left over. I believe that the fabric is a rayon with a little stretch, I picked this up locally from  Haberman Fabric in the $4.98 a yard bin, I used 2 yards. It took me a little over 4 hours to complete, that included me talking on the phone and tending to my sick baby. I also had to stop and take him to his appointment at 7 and then came back to finish the hem. I chose to do a wider hem then I would usually like 1", I like how it came out. The zipper went in like a charm but I did have to take a few stiches out of the waistband and redo because the zipper didn't go up and down as smooth as I would have liked. The invisible pockets are my favorite and I'm glad I learned this technique. I can't wait to wear this longer than a few hours.


As I said since the start of this challenge I wanted to make my outfit for my sons graduation and I made 3. The Coral Maxi, Sea Foam Green Infinity, and the below project.


Tomorrow Goal: MIMI G T Shirt Maxi


Monday, June 10, 2013

30 Day Sewing Callenge day 10 of 30

Singer Tiny Serger


Today I worked late and didn't get home until after 8 so I didn't want to start on any sewing.

A few months back I was looking into getting a serger on Craiglist and found a Tiny Serger for $25. I was a little taken back as to why it would only cost $25, but I called the man and left a message. He called me back I asked a friend to go pick it up and when she delivered it to me I had about 30 spools of thread and this little machine that instantly intimidated me. Non the less I looked for review or tutorials on YouTube and found none. Also found out I didn't have a blade on this one. I quickly got over that because I was fearful of cutting my fabric by mistake. Any who I used it and the thread was loose. I was thinking that It had something to do with the fabric I used. Forgot to mention that the man and my friend tested it out on scraps and she even took the scraps to prove it to me. So that brings me to today.


I used the information from this You Tube video I seen to see if I could figure it out.

Tools you will need
Scrap fabric
Scissors or Rotary Cutter
Ruler  
Pen or Marker
Tweezers

btw I wrap the stocking around my scissors so my children know to never use these


I changed the tread to the colors that was on the chart on my Tiny Serger. I did this by knotting with the already threaded string and the new string. I made sure to tie them before the dials so I wouldn't risk un-threading anything.


I measured and cut the fabric to 5 inches wide and 15 1/2 inched long. Then every 1 1/2 inches I placed a mark. I made the first mark 2 inches.


I numbered them 1 - 9 and labeled the top the colors of the treads I had threaded. The video tells you to label them the color and name of what goes with that color, however hers is a regular serger and has 4 spools and mines only have 3 and I didn't know what those colors stood for anyway smh.

I then started serging the fabric starting at 0 and every time I would reach a line I would changed the knob to the number (only on the color of the fabric piece I was using.


Ex:I have the one labeled GREEN I would change the green knob to1...2...3...and so on until I reached 9


As you can see my thread keeps breaking and its only tight when every color is on 1. By the time I get to two it has started to spread apart and the tread breaks. The picture you see is after I have picked the treads out 3 times trying to get it stop breaking.


I guess this experiment has truly help me realize that I'm going to buy me a regular serger lol. I will keep trying on straps with the dial set to 1 on all colors in hopes that I wont have to purchase a serger no time soon. I only use the serger to finish my raw edges and even when I do purchase a regular serger it may be a long time before I use it with the blade up.

I hope this helps someone because it has truly helped me ;-)